
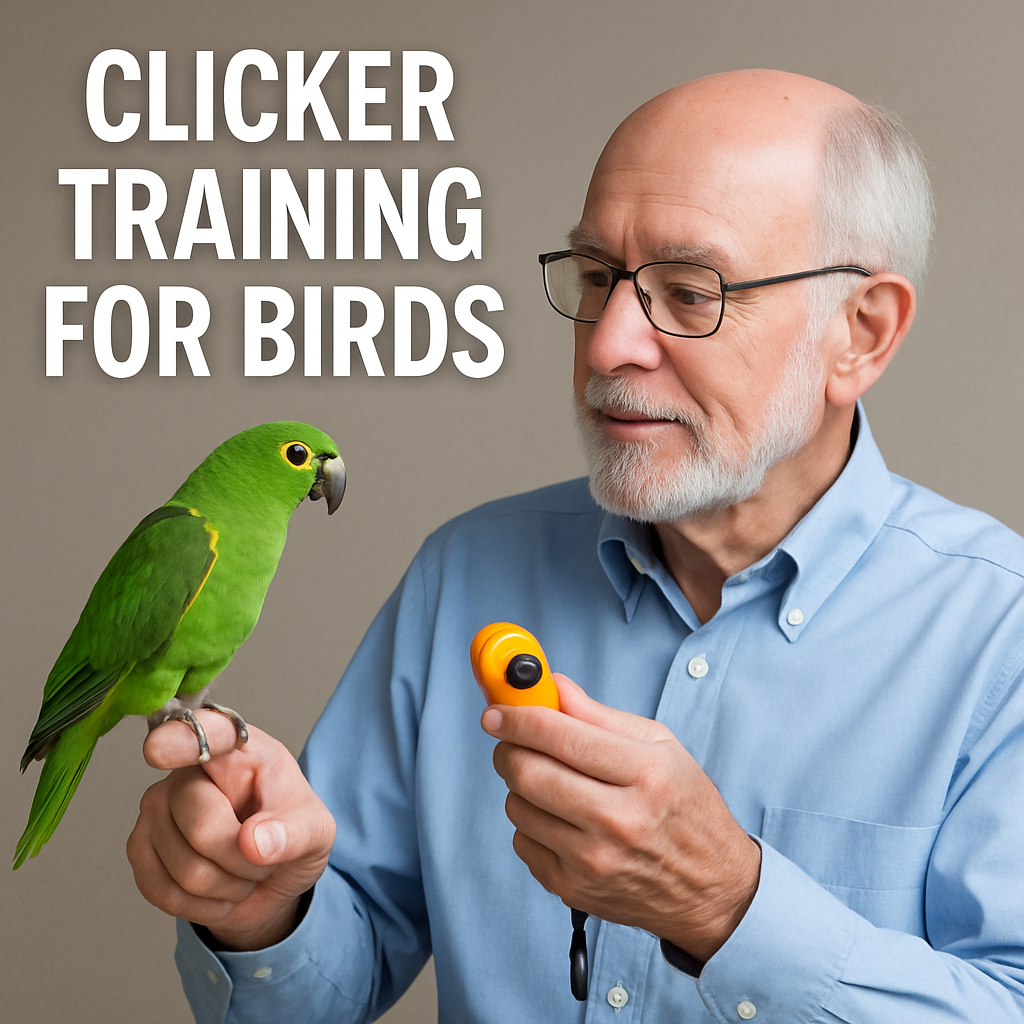
 Clicker training isn’t just for dogs. It’s actually a pretty awesome way to work with birds, too. Training your feathered bud—whether that’s a parrot, cockatiel, or budgie—gets a lot easier (and a lot more fun) with the power of a little click. I’ve put together a practical checklist so you get the best start, keep things safe, and really enjoy the whole experience of bonding with your bird through positive reinforcement.
Using a checklist makes it much easier to stay consistent, see progress, reduce frustration, and celebrate those tiny bird-sized wins as you build new behaviors. Here’s everything you want to have ready before, during, and after training for the smoothest adventure.
Step 1: Gather Your Clicker Training Gear
Not all clickers or treats are the same, and it’s really important to pick the right stuff for your individual bird. Having what you need on hand means you won’t be scrambling during a training session.
Your Clicker Kit Should Include:
- Clicker: Choose a small clicker with a sound that isn’t too harsh. Some birds prefer softer clicks, so check what your pet finds comfortable. Softbutton clickers, box clickers, or even a retractable pen can work if that makes less noise.
- Treat Container: Use a little dish or pouch for treats. It keeps things tidy and easy to reach, so you can focus on rewarding your bird fast.
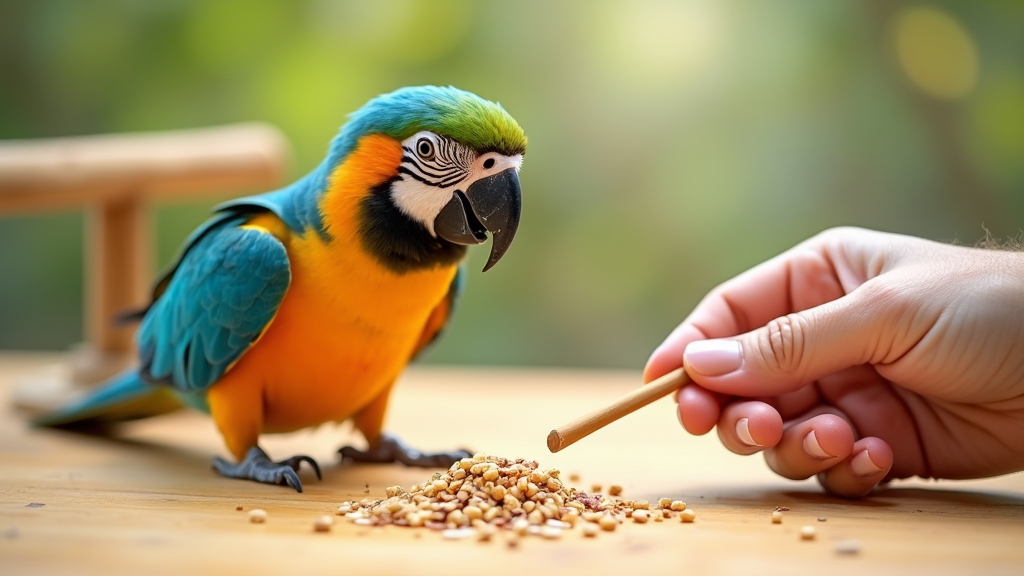
- Target Stick: A chopstick or skewer works as a simple target stick for guiding behaviors. These are great for teaching basic movements.
- Notebook or Tracking App: Something to jot down your bird’s progress, new tricks, and any trouble spots. Even a simple spreadsheet can make a difference as you track sessions and see improvements week to week.
High-Value Treats That Work for Birds
- Millet spray (a universal favorite for smaller birds)
- Sunflower seeds (just a small amount, since too many aren’t healthy)
- Chopped nuts (for bigger birds)
- Small pieces of fruit or veggies (like apple bits, carrots, or peas)
- Pellet food, if your bird is pelletmotivated
Pick treats your bird goes nuts for, and break them into tiny pieces, so each reward is quick to eat and doesn’t fill them up. Treats are the magic ingredient for motivation.
Step 2: Prep Your Training Environment
The best training happens when both you and your bird can focus without stress or distractions. A calm setting really matters.
Checklist for an Ideal Training Spot:
- Choose a room with minimal foot traffic. The quieter, the better.
- Keep away from TVs, loud music, or noisy appliances. Any loud background noise will distract or stress your bird.
- Ask family members (and other pets) to stay out while you train; you don’t want interruptions.
- Find a space with good lighting. Birds use subtle body language, so clear lighting helps you communicate and spot those signals.
- Have a flat perch or clear tabletop so your bird can move comfortably.
If your bird isn’t fully handtame, train inside a cage with the door open, or start by moving your bird to a training perch that feels familiar and safe. Gradually, you can build up to more open environments.
Step 3: Get Your Bird Comfortable with Training
Rushing in too fast can make birds nervous, especially if noises are new. It’s always better to move slow and make every part of training feel safe and positive.
Set Up for Success:
- Handle the clicker away from the bird at first, clicking a few times and watching your bird’s reaction.
- If they seem startled, try muffling the click slightly with your hand or use a quieter clicker until they get used to it.
- Let your bird see the treats before you begin; this lets them know something good is coming.
- Keep the first few sessions super short (two to three minutes is plenty at the start).
Gaining your bird’s trust takes time, so keep initial sessions brief and always end on a positive note. If they seem interested, you’re ready to keep going.
Step 4: Charge the Clicker
This step is about teaching your bird that the click means a treat is on the way. This association is the core of successful clicker training.
Steps to Build Association:
- Click the clicker once, then immediately offer your bird a treat.
- Wait a few moments, then repeat: click, treat.
- Do this about 10 to 15 times in a row per session, over a couple of sessions.
- Watch for signs that your bird is looking for a treat as soon as they hear the click. That means the association is made!
Take your time here. Once your bird connects the click to something good, you’re both ready for real training, since your bird now has a clear signal for reward.
Step 5: Train Simple Behaviors First
It’s tempting to get into nextlevel cool tricks right away, but starting simple is way better for building understanding and trust. Build a foundation with basics before adding complexity.
Some Good Starter Behaviors:
- Step Up: Teach your bird to step onto your finger or a perch when prompted.
- Targeting: Use a stick for them to touch with their beak. Many birds
 pick up on this quickly and enjoy working for a treat.
 - Basic turns or spins: Use a treat or target stick to guide your bird in a slow circle, building confidence with movement.
Click as soon as your bird does what you want, then give a treat. Even baby steps or attempts count; reward any progress so your bird stays enthusiastic and motivated.
Step 6: Keep Sessions Short and Consistent
Birds learn best with brief, regular sessions. Spacing things out helps your bird look forward to training and keeps the mood positive for both of you.
- Train once or twice daily, for five to ten minutes each time; consistency beats long sessions every time.
- End the session while your bird is still interested, not bored or frustrated—they’ll be eager for next time.
- Try to use the same spot and similar time for each session, making things predictable for your bird.
- Always finish on a win, even a small one! You’ll both feel good about the session and be set up for success moving forward.
Step 7: Pay Attention to Timing and Attitude
The timing of your click and treat makes a big difference—it tells your bird exactly which action gets the reward. Clear signals make learning quick and enjoyable.
- Click instantly as your bird finishes the action you want.
- Give the treat immediately after the click. Fast delivery helps make the connection in your bird’s mind.
- Use an upbeat voice and positive body language; encourage your bird just for interacting, even if progress is slow.
- If your bird seems stressed or distracted, pause and try again later.
Maintain patience and don’t rush; your energy sets the tone for your bird and shapes their attitude toward learning.
Step 8: Track Progress and ProblemSolve
Writing down what works (and what doesn’t) makes it much easier to see patterns, try new things, and get past any rough patches in training. Keeping records also makes it fun to look back and notice how far you’ve come.
- Jot notes after each session: how long it lasted, what you tried, and what your bird enjoyed most.
- Notice if your bird struggles with a step. If so, break it into even smaller pieces or use different treats to give a boost in motivation.
- If your bird refuses to get involved, doublecheck if they’re hungry, tired, or distracted. Fixing the environment can make a huge difference.
Step 9: Make Training Fun and Positive
Birds can pick up on your mood in no time, so patience and positivity are key. Treat every training session as precious bonding time; the more trust you build, the easier future sessions become.
- Never punish or scold after mistakes. Stay upbeat no matter what, and reward any effort your bird makes.
- Mix in some variety—change up the order of behaviors or try new tricks once your bird picks up the basics.
- Celebrate your bird’s quirks and preferences. Each bird is one of a kind and may learn in their own style.
Step 10: Expand to New Skills and Maintain What You’ve Learned
Once your bird masters simple skills, you can get creative and reinforce behaviors regularly, making sure they stick for the long run.
- Try more complex tricks, like retrieving objects or flying to your hand. Add a challenge once your bird seems comfortable.
- Pair voice commands or hand signals with clicks and treats, making cues even clearer.
- Review older behaviors often so your bird doesn’t forget; skills need refreshing just like with people.
- Keep sessions light and fun, always keeping your bird’s comfort as your top priority. Don’t rush progress.
Bird Training FAQs
What if my bird isn’t foodmotivated?
Sometimes, birds respond better to praise, head scratches (if they like it), or a favorite toy. Try different rewards until you find what gets them excited. Just go slow and keep your sessions short. Positive association is more important than the actual reward you choose.
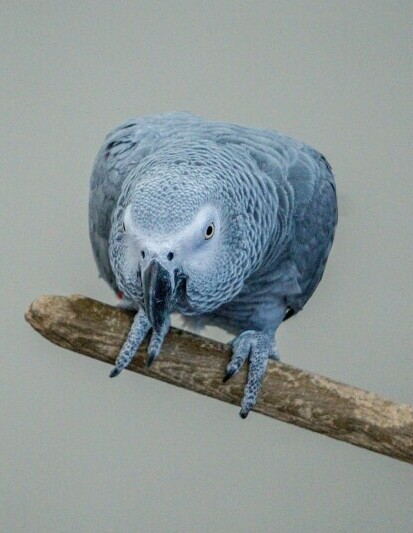
How do I know my bird is ready for training?
Look for relaxed body language: upright posture, head bobbing with curiosity, and maybe some happy vocalizing. If your bird is fluffed up, quiet, or avoiding you, they might not be in the mood. Let your bird set the pace and never force a session.
What if sessions become stressful?
If you or your bird feels stressed, end training right away and try again later. Training should always be a positive activity—a partnership between you and your bird built on trust.
Checklist Action Plan
- Pick a clicker and treats, and set up your gear.
- Set up a relaxed space for training, free of distractions.
- Charge the clicker before starting any behaviors or skills.
- Begin with supersimple tasks, always using positive reinforcement.
- Track each session’s wins, and brainstorm solutions for any challenges you come across.
Working through these steps makes bird clicker training smooth and rewarding for both of you. For even more tips, check out the rest of WhiskerWiseMind.com’s bird care articles, or share your own training wins in the comments—I’d love to hear what’s working for your feathered crew!
Best Treats And Rewards For Different Pets:
How To Create A Safe And Stimulating Environment For Your Pet Bird